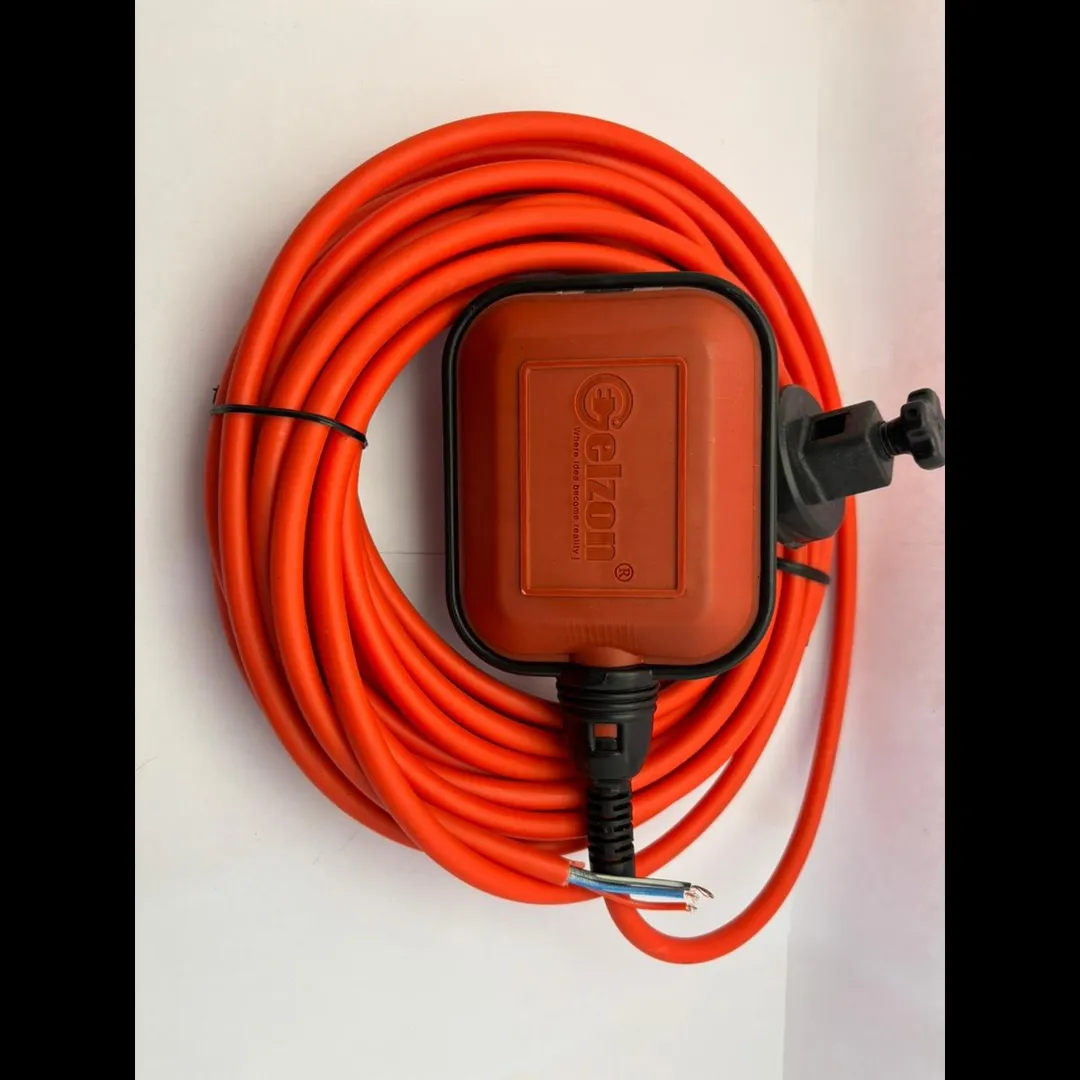
Gelzon Cable Float Switch*
A cable float switch is used in *water tanks, sumps, or pumps* to automatically turn the pump ON/OFF based on water level.
---
## *1. Understand the Parts*
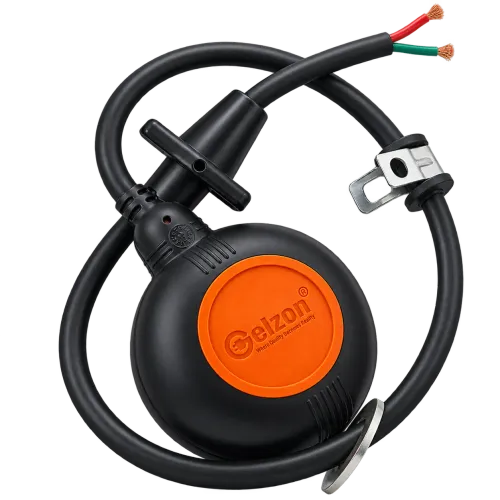
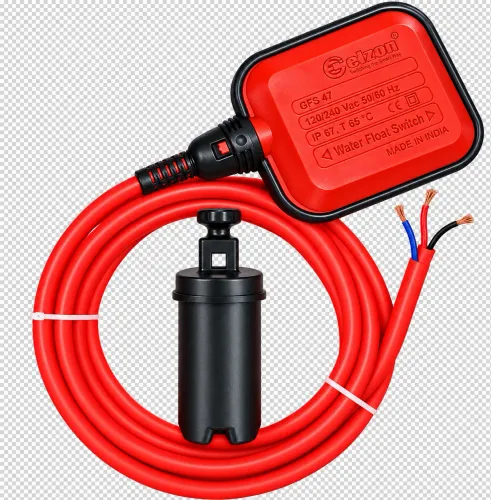
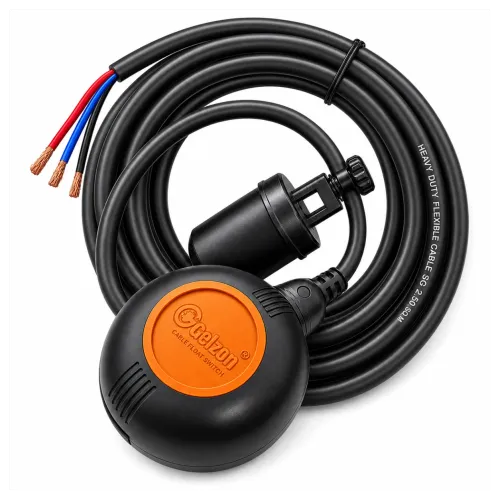
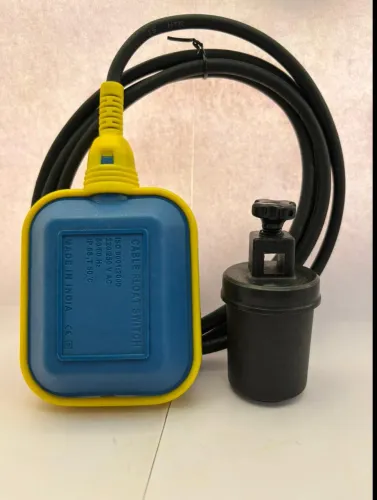
From the image, the float switch has:
* The *float body*( Red box)
* A long *cable with 5 wires*
* *Blue* – Neutral
* *Brown* – Common
* *Black* – Normally Open (NO) / Pump control wire
(Colors may vary depending on model—check label or manual)
---
## *2. How It Works*
* When the float *rises, it completes the circuit → **Pump starts*
* When the float *drops, it breaks the circuit → **Pump stops*
You can reverse the direction depending on tank type:
* *Emptying Mode (Drain Tank):* Pump turns ON when float rises.
* *Filling Mode (Fill Tank):* Pump turns ON when float drops.
---
## *3. Wiring Instructions (Basic)*
⚠ *Safety First: Switch OFF power before wiring.*
### *Inside Control Box / Pump Starter*
Connect:
| Float Switch Wire | Connect To |
| ------------------ | -------------------- |
| *Brown (Common)* | Pump control circuit |
| *Black (NO)* | Pump starter input |
| *Blue (Neutral)* | Neutral line |
--
## *4. Float Placement*
1. Hang the float switch inside the tank using the cable.
2. Secure the cable with a clamp or weight (included or bought separately).
3. Leave at least *20–30 cm* free movement space.
4. Ensure the cable does not get stuck on tank walls.
---
## *5. Testing*
1. Turn ON power.
2. Lift the float manually:
* Pump should *start/stop* depending on your wiring mode.
3. Lower the float:
* Pump should respond opposite way.
A cable float switch is used in *water tanks, sumps, or pumps* to automatically turn the pump ON/OFF based on water level.
---
## *1. Understand the Parts*
From the image, the float switch has:
* The *float body*( Red box)
* A long *cable with 5 wires*
* *Blue* – Neutral
* *Brown* – Common
* *Black* – Normally Open (NO) / Pump control wire
(Colors may vary depending on model—check label or manual)
---
## *2. How It Works*
* When the float *rises, it completes the circuit → **Pump starts*
* When the float *drops, it breaks the circuit → **Pump stops*
You can reverse the direction depending on tank type:
* *Emptying Mode (Drain Tank):* Pump turns ON when float rises.
* *Filling Mode (Fill Tank):* Pump turns ON when float drops.
---
## *3. Wiring Instructions (Basic)*
⚠ *Safety First: Switch OFF power before wiring.*
### *Inside Control Box / Pump Starter*
Connect:
| Float Switch Wire | Connect To |
| ------------------ | -------------------- |
| *Brown (Common)* | Pump control circuit |
| *Black (NO)* | Pump starter input |
| *Blue (Neutral)* | Neutral line |
--
## *4. Float Placement*
1. Hang the float switch inside the tank using the cable.
2. Secure the cable with a clamp or weight (included or bought separately).
3. Leave at least *20–30 cm* free movement space.
4. Ensure the cable does not get stuck on tank walls.
---
## *5. Testing*
1. Turn ON power.
2. Lift the float manually:
* Pump should *start/stop* depending on your wiring mode.
3. Lower the float:
* Pump should respond opposite way.
Keywords